Ever wanted to add a private messaging system for your users in WordPress? Whether its a multi-author blog, forum, or a question / answer site, the ability to send private messages is important for online communities. In this article, we will show you how to add a private messaging system in WordPress.
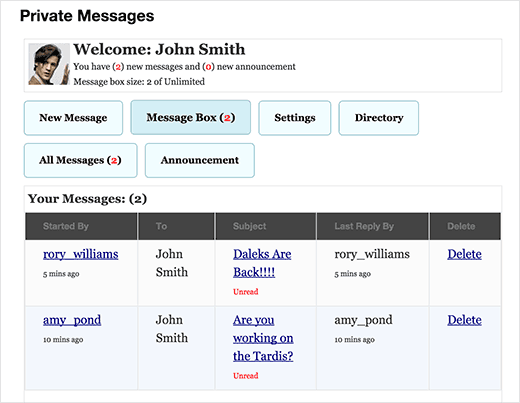
First thing you need to do is install and activate the Front End PM plugin. Upon activation, you need to visit Front End PM » Instructions page to setup the plugin.
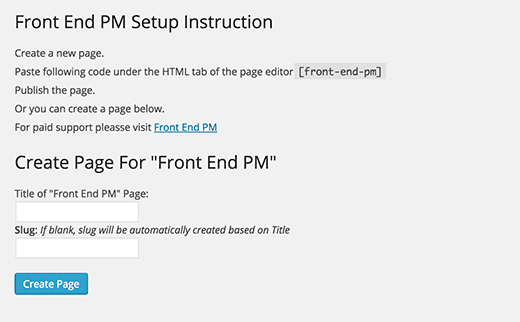
The setup instructions are quite simple.
You can either copy and paste the shortcode in any WordPress page that you would like to use for private messaging.
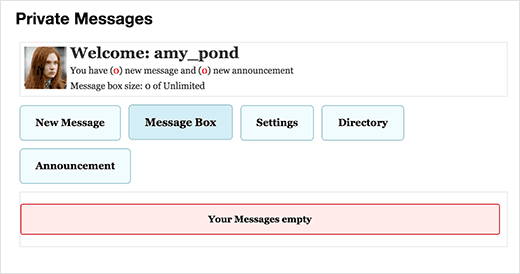
Alternatively, you can create a new page using the fields below. After creating the page, you can preview it and it will look like this:
Configuring Direct Message Settings
This plugin comes with a comprehensive set of configuration options. You can change these by visiting Front End PM » Settings page.
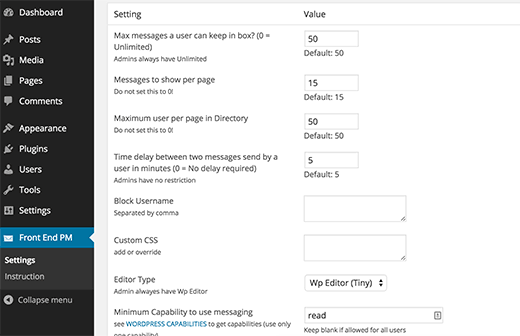
You can set the number of messages a user can store. You can also block users by adding their usernames into block user setting.
Most importantly, you can set a minimum capability level required for users to send or receive messages.
The default capability is read, which means all registered users can send and receive direct messages. However you can change it to write or edit, so that only authors or editors can use private messaging features.
User Settings for Private Messages
Your WordPress users can control the direct messaging features directly from the front-end of your website. In other words, they don’t need to login to the WordPress admin area.
They need to simply click on the settings tab to control it.
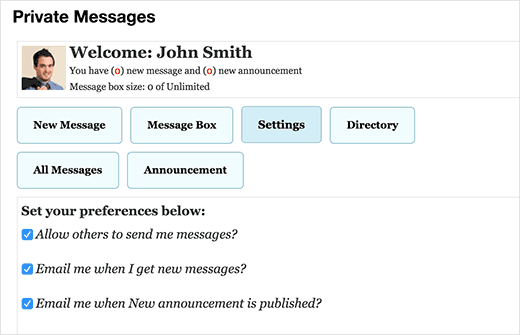
Users can opt-out of receiving messages from others and disable email notifications and announcements.
That’s all, we hope this article helped you add a private messaging system to your WordPress site. You may also want to check out our guide on how to add a login form in your WordPress sidebar.
Source wpbeginner.com


No comments yet.